Setting Up an Nginx Server on Linux OS
Step-by-Step Guide: Setting Up an Nginx Server on Linux OS
Introduction
Nginx is a powerful and lightweight web server that has gained popularity for its high performance, scalability, and efficient handling of concurrent connections. In this article, we will walk you through the process of setting up an Nginx server on Ubuntu, one of the most popular Linux distributions. By following these steps, you'll be able to deploy your own web server and start hosting your websites or applications in no time.
1. Update Ubuntu Packages
Before installing Nginx, it's essential to ensure that your Ubuntu system is up to date. Open the terminal and run the following commands:
sudo apt update
sudo apt upgrade
2. Install Nginx
Once your system is up to date, you can proceed with the installation of Nginx. Enter the following command in the terminal:
sudo apt install nginxThis will install Nginx and its dependencies on your Ubuntu system.
3. Configure Firewall
By default, Ubuntu's UFW (Uncomplicated Firewall) is enabled. To allow incoming traffic on the default HTTP (port 80) and HTTPS (port 443) ports, run the following commands:
sudo ufw allow 'Nginx HTTP'
sudo ufw allow 'Nginx HTTPS'
sudo ufw enable
4. Verify Nginx Installation
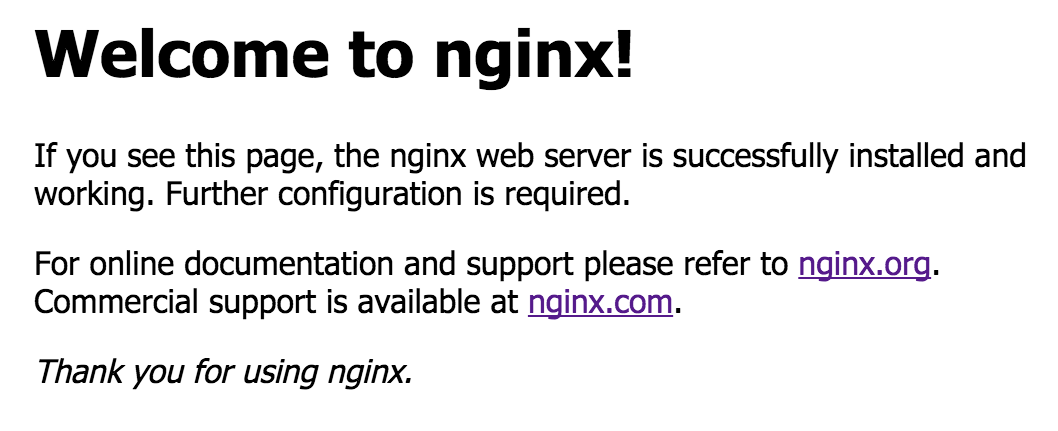
To verify if Nginx is installed and running correctly, open your web browser and enter your server's IP address or domain name. If you see the default Nginx welcome page, it means that Nginx is successfully installed and configured.
5. Basic Configuration
The main Nginx configuration file is located at /etc/nginx/nginx.conf. You can modify this file to customize the server settings according to your requirements. Additionally, the web server files are stored in the /var/www/html/ directory by default. You can replace the default content with your own website or application files.
6. Managing Nginx Services
To start, stop, or restart the Nginx service, you can use the following commands:
sudo systemctl start nginx
sudo systemctl stop nginx
sudo systemctl restart nginx
7. Enable Automatic Start
If you want Nginx to start automatically on system boot, use the following command:
sudo systemctl enable nginxConclusion
Setting up an Nginx server on Ubuntu is a straightforward process that allows you to host websites and applications efficiently. By following the steps outlined in this guide, you can install Nginx, configure basic settings, and manage the web server with ease. Whether you're hosting a personal blog or deploying complex web applications, Nginx's speed and flexibility make it an excellent choice for your web server needs.
Sources:
- Nginx Official Website: https://nginx.org/
- Ubuntu Documentation: https://help.ubuntu.com/